Two-Bucket Car Wash Guide

It's widely known that a simple car wash is the best way to keep your vehicle in tip-top shape. But it’s a common misconception that taking your vehicle to a retail car wash will save you time versus doing it yourself. Assuming there is one nearby that does a half-decent job, let’s estimate you spend 5 to 10 minutes driving there. Then add another 5 minutes waiting in line to have someone help you. Even on a slow day, it will still take more than 30 minutes for them to wash and dry your car. And let’s not forget the drive back. That means the total time spent on this endeavor is around an hour, roughly the same amount of time it would take you to wash your car in the driveway.
An even bigger concern is the damage that an outside car wash might inflict on your vehicle. Improper washing and drying is the leading cause of swirls and scratches. By putting in some sweat equity, you ensure your car will be looking good for many more miles. In this article, we’ll teach you how to wash your car efficiently without causing any damage by adopting the Two-Bucket Wash Method.
Equipment needed:

- Two buckets
- Two Grit Guard inserts
- Car wash soap
- Microfiber wash mitt
- Microfiber drying towels (preferably high GSM)
Step 1. Fill Your Buckets

When utilizing the traditional method of washing with a single bucket, the dirt that you removed from your car with your wash mitt is mixed into your clean wash water. This means your wash mitt isn’t completely clean and becomes trapped with grime. As you continue to use the dirty mitt during the wash, abrasive particles are transferred back onto the car exterior, leading to scratching and marring of the vehicle.
To fix this issue, we will designate a rinse bucket and a wash bucket. The rinse bucket will contain plain water to rinse your wash mitt clean, while the wash bucket will hold your soap solution. You’ll want a bucket large enough to hold an ample amount of water to easily remove dirt from your wash mitt (3 to 5 gallons).
Another important part of the set-up is to equip your wash and rinse buckets with Grit Guard inserts. These inserts are placed at the bottom of the bucket and helps remove dirt from your wash mitt. They also help keep the dirt at the bottom of the bucket to ensure you’ll have a clean, scratch-free wash mitt after every rinse.
Once the Grit Guard inserts are in place, fill your rinse bucket with clean water. Then squeeze 1 to 3 ounces of soap into your wash bucket and fill it with a stream of water from your hose to create some nice suds.
Step 2. Rinse Your Car

Start by rinsing the car with a strong blast of water from your hose. This will remove any loose dirt and debris, and start breaking down stuck-on filth and grime. Now the surface is ready to be washed.
Step 3. Wash in Lines

Soak your microfiber wash mitt in the wash bucket, pick up some suds, and choose which section of the car to start washing. The general order will look something like this: roof, windows, hood, trunk, front and rear, sides, and then wheels, tires, and wheel wells. Use a separate, dedicated brush to clean wheels, tires, and wheel wells.
You’re going to gently wash the dirt and grime off each section in lines from top to bottom. Since the bottom of the car is typically the dirtiest, washing from top to bottom prevents any dirt at the bottom from being carried to the top.
Step 4. Rinse Your Mitt

After washing each section, you’ll want to rinse off the dirt on your wash mitt. Dip your wash mitt into the rinse bucket and rub it against the grit guard at the bottom to remove all the grime. Wring the mitt out onto the ground to eliminate any dirty water and remaining debris. Once your mitt is clean, place it back into the wash bucket to fill the mitt with more suds before tackling another panel.
Step 5. Rinse Top to Bottom

Rinse the car immediately after washing to help avoid soap from drying on the surface.
Step 6. Dry Top to Bottom

After cleaning the entire car, you’re ready for the final step of drying. We prefer using a microfiber towel with high GSM (grams per square meter). These heavier, thicker towels will absorb more liquid than lighter towels and reduce scratching.
With your soft microfiber towel, dry the surface in lines from top to bottom using light pressure just like when you applied the soap. Flip over your towel and periodically ring it out when it becomes too saturated with water.
Once you’ve mastered the two-bucket car wash method, you’ll not only be able to clean your car without scratching your paint, but have taken the first step in becoming a detailing pro.
Bonus Tip: Car Care Maintenance Between Washes
Dust your car to keep it looking clean with less frequent washes. The California Car Duster is a great option with a baked in wax treatment that gently lifts dust from your car’s surface without scratching.
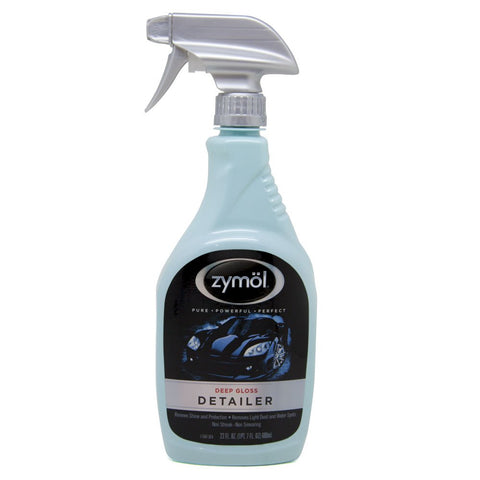
Another handy tool to keep in your garage is a spray detailer to spot clean areas between washes.