Guide to Auto Detailing
Step 1: Wash

The first and most important step, the wash removes all dirt and debris off the surface of your car in preparation for the remaining process. Start with a tire cleaner for the wheels and tires. Then switch to a car soap for the rest of your vehicle, washing from top to bottom.
Related Products:
Zymol Auto Wash
Pro Tip:
It’s best to wash using the two-bucket method and/or using a dirt trap to prevent scratches on your paint.
Step 2: Clay

Detailing clay pulls off any contaminants stuck on the paint, like overspray or dust. A sure sign of needing detailing clay is if the paintwork on your car feels rough after the wash. Any clay bar you choose will need to be used with a lubricant. For a smooth finish, we recommend using a clay lubricant instead of soap and water to prevent your clay bar and detailing mitts from degrading.
Optional Step:
Some detailers wash again after claying the car to remove all clay residue and clay lubricant.
Step 3: Paint Inspection
Inspect your paint to determine your next step. Your paint condition will fall under one of the following three categories:
Bad Paint
Paint that has heavy swirls, scratches, and defects.
Move on to Step 4: Compounding
Moderate Paint
Paint that has light swirls, marring, and defects.
Skip to Step 5: Swirl Remover
Good Paint
Paint that is swirl free and requires no polishing.
Skip to Step 7: Paint Sealant.
Pro Tip:
All forms of polishing (Steps 4 through 6) are processes that remove some clear topcoat from your car. This clear coat is important for protecting your paint so you don’t want to overdo it with the polishing.
Step 4: Compounding

Compounding is a heavy-duty, abrasive polish designed to remove defects and scratches that are deep within the vehicle paint. We use compounding to turn our bad paint into moderate paint.
Pro Tip:
If your paint is severely scratched or has orange peel, wet sanding may be performed before compounding.
Step 5: Swirl Remover
The swirl remover is going to remove any rotary buffer hologram and swirls created by compounding. We use the swirl remover and finishing polish (next step) to turn our moderate paint into good paint.
Step 6: Finishing Polish
The finishing polish removes any remaining light defects and perfects the paint gloss to make it smooth as glass.
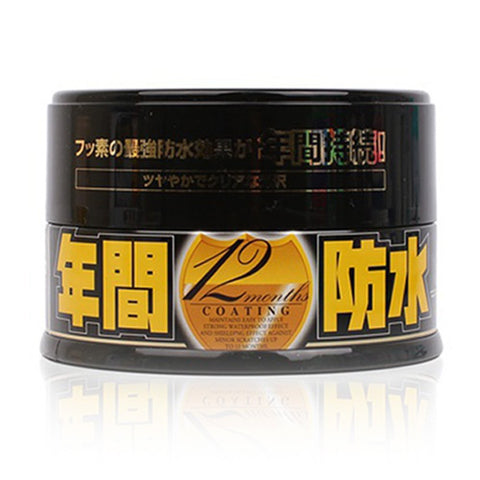
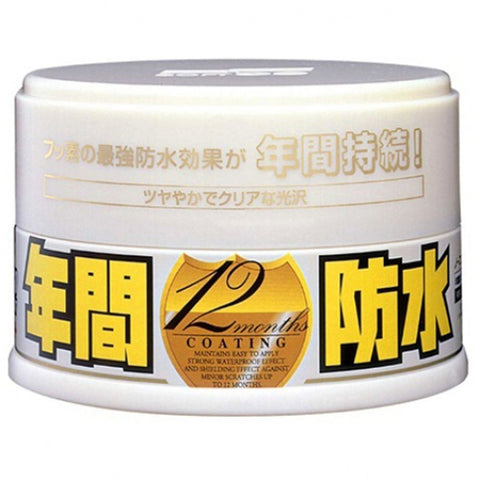
Step 7: Paint Sealant/Wax
Sealants help protect your paint against the elements (including UV radiation) and provide a solid foundation for waxes to adhere. Waxing is a process in which the exterior of a car is coated in order to protect the paint. When a car is waxed, the car is better protected from other elements (like the sun and dirt).
If you choose to apply multiple layers, you always put down the product with the longest protection first. Since paint sealant lasts longer than wax, you will apply paint sealant and then wax. (Learn the difference between waxes and sealants from this article by Jay Leno's Garage or Adam's Polishes.)
Related Products:
Zymol Cleaner Wax
Soft99
Optional Step:
Prior to paint sealant, some detailers will apply glaze. This product contains wax or fillers to hide light blemishes and to make the car surface extremely smooth and shiny.
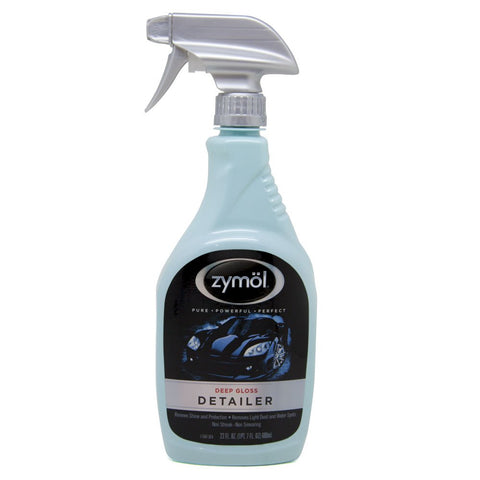
Step 8: Quick Detailer Spray

Detail sprays are meant to top off your wax or paint sealant and can be used on the entire exterior for an instant gloss. They elevate shine tremendously while making wiping away dirt, dust and smudges an effortless task.
Related Products:
Zymol Spray Detailer
Pro Tip:
These are great for stretching the time between major details. Keep it in your trunk or garage to use anytime you want to restore the just-waxed finished.